How can I setup Google Authenticator on Binance?

The fact that your funds are being stored on Binance makes it a honeypot for hackers and scammers. Malicious players will try to gain access to your account and steal your funds through phishing, public WiFi, or any other means possible. And just so you know, Binance was hacked on May 7, 2019. The hackers gained entry into several high-net accounts by phishing, using viruses, and other attacks, according to Binance CEO Zhao Changpeng. But not to worry, this incident helped the exchange to improve its security.
This is why having two-factor authentication enabled is essential to keep your funds safe on Binance. In this article, I will quickly run through what 2FA is and how to setup Google authenticator on Binance.
What is 2FA?
Two-factor authentication or 2FA, as the name suggests, is a secondary verification requirement beyond a username and password. This creates an extra layer of security. Think of 2FA as a private security guard. Before anyone gets to you, they will have to go through him. It is commonly used in situations where you forgot your password, login from a new device, or perform a potentially suspicious behavior. It ensures that a person is who they say they are. Some examples of 2FA include security questions, SMS messages, hardware tokens, and Google authentication codes.
In the case of Binance, there are currently four 2FA options – SMS authentication, Google authenticator, email address, and security key.
That being said, the next important question is “how to setup Binance Google Authenticator?”
Setting up Binance Google Authenticator
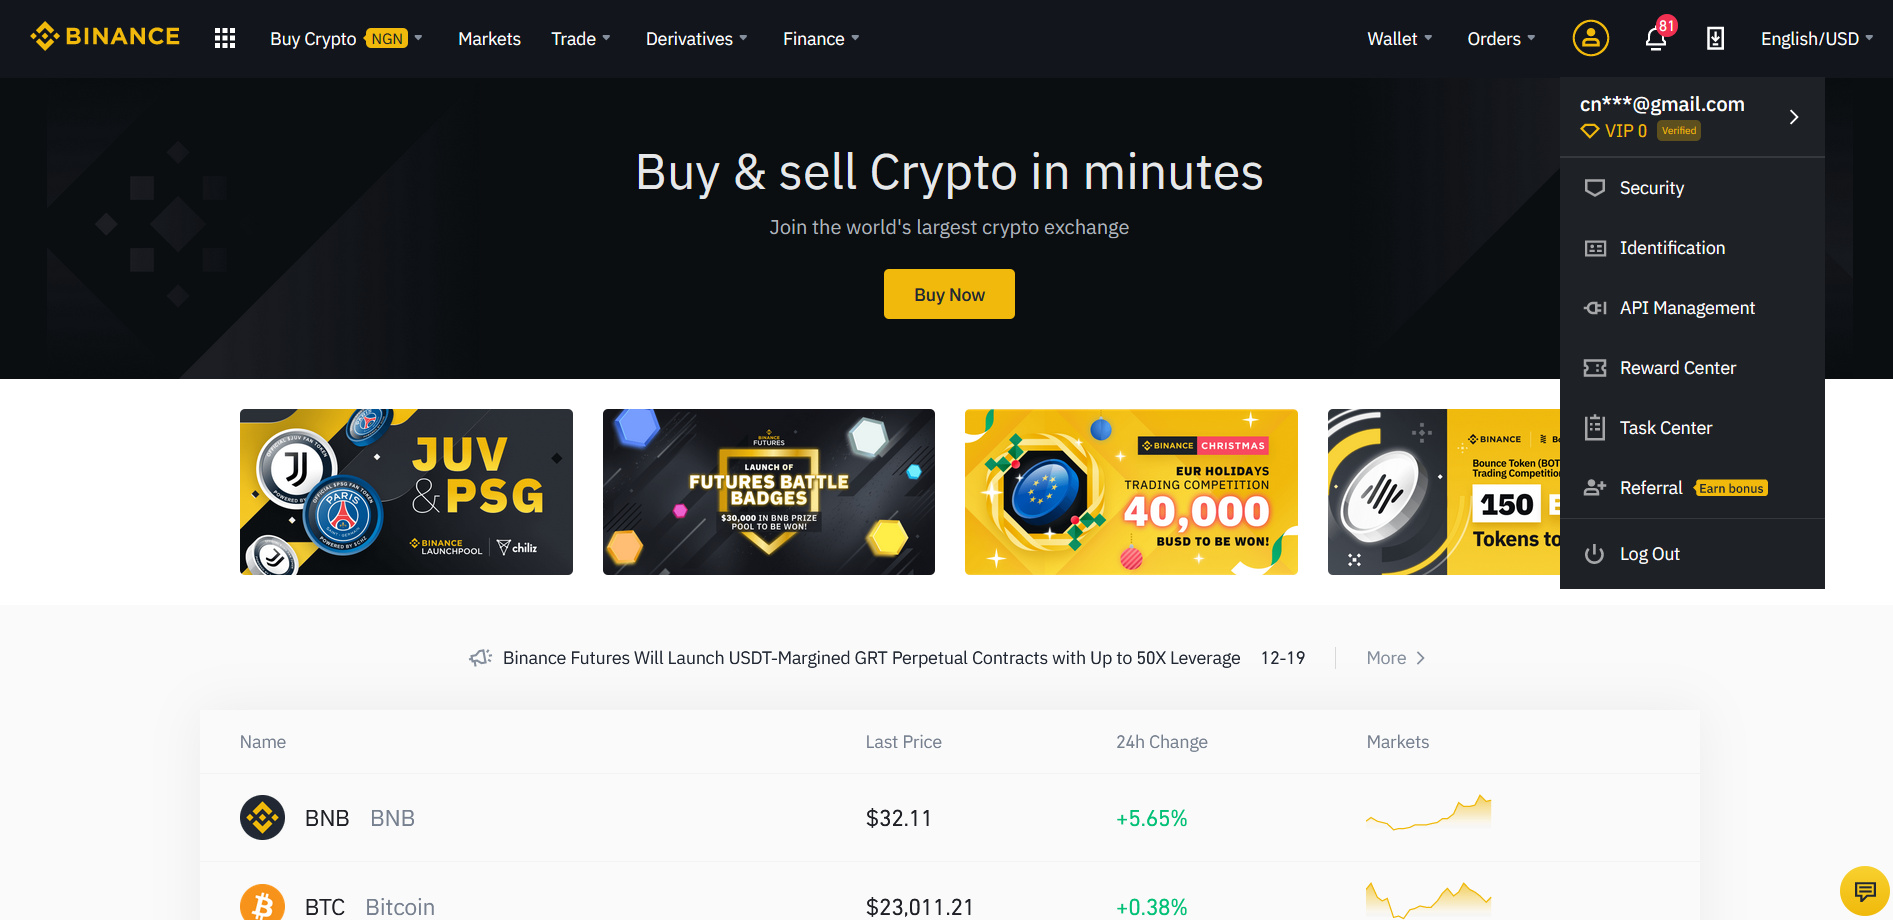
Once you’ve signed into your Binance account, navigate to your dashboard, and select “Security”. Locate the 2FA section and click the “On” button in the Google Authentication area to begin your Binance Google authentication.
Step 1 – Download the App
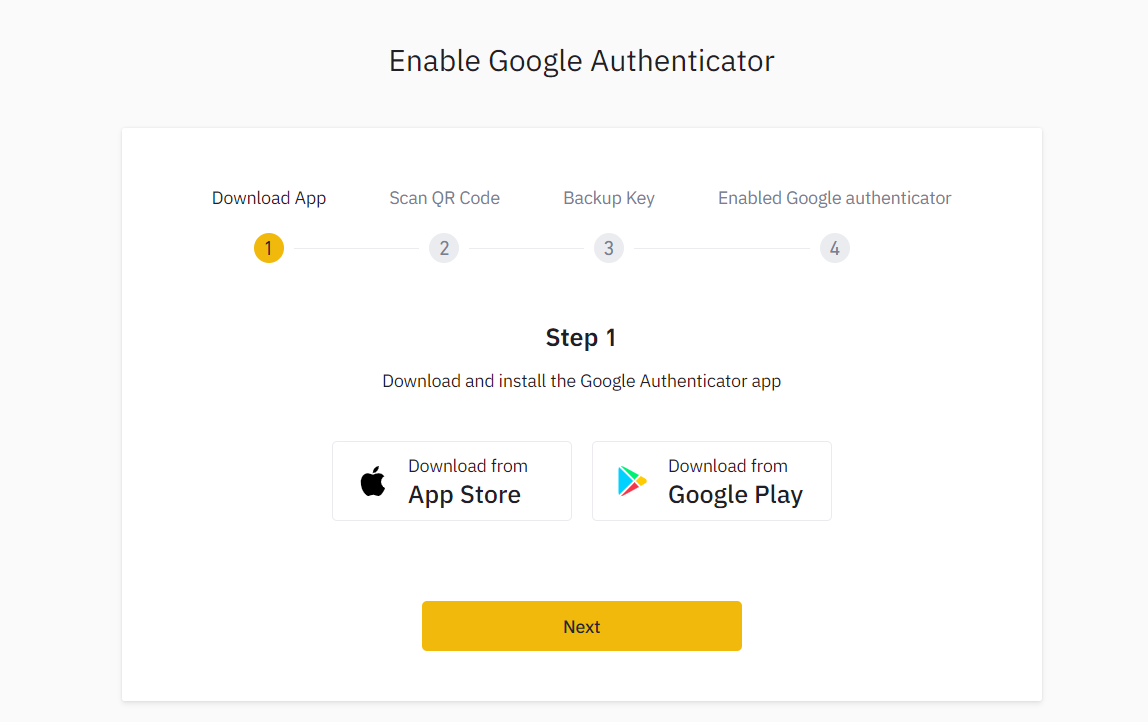
Whether you are trying to activate 2FA for your Binance account from your mobile phone or PC, you will need to download the Google Authenticator app. Once you click on the “On” button as described above, Binance automatically redirects you to a new tab where you will be prompted to “download and install the Google Authenticator app.” You can download the app using the links provided on this screen.
Alternatively, you can skip this step if you already have an authenticator app on your mobile phone. Another option for chrome users is to download the authenticator extension from the Chrome Web Store.
With Google authenticator downloaded and installed on your mobile phone or PC, proceed to the next step.
Step 2 – Scan QR Code
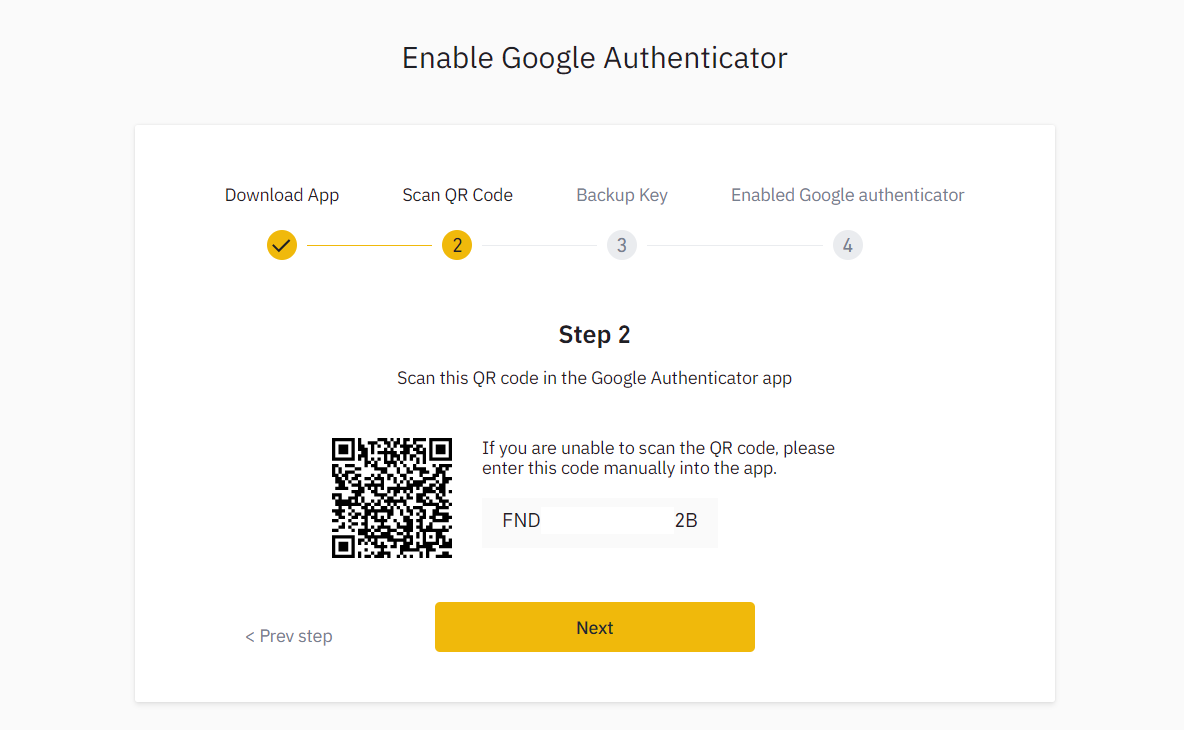
Now, open the Google Authenticator App on your mobile device and click “Scan a barcode”. Scan the barcode provided by Binance once your camera opens. In case you are using your PC, you won’t be able to scan the barcode. Simply copy and paste the “key” provided.
Once this key is added to your authenticator, you may proceed to the next step.
Step 3 – Backup Code
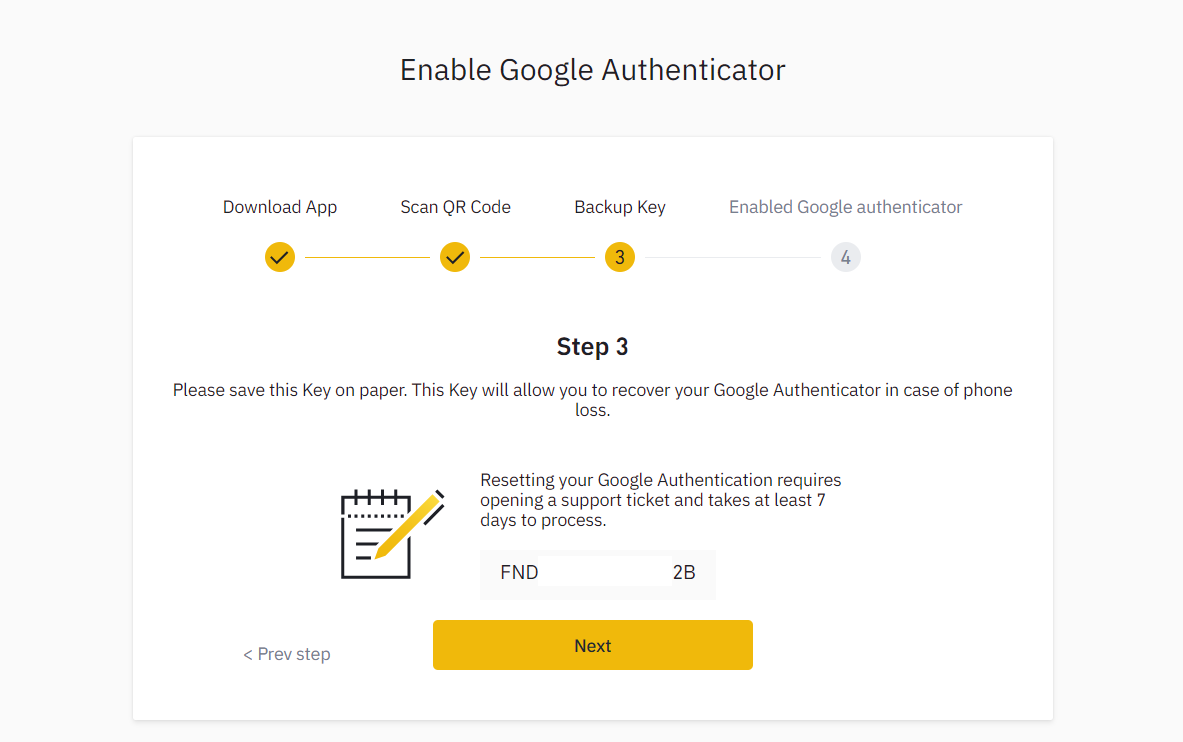
Losing your device can be quite messy once 2FA is activated. For this reason, you want to make sure you backup your code. This way you can always gain access to your Binance account even with a new device.
After scanning your QR code, you will be prompted with a reset code for your Binance account. Ensure that you write this code on a piece of paper and keep it safe. I have a separate Gmail account where I encrypt all my important information.
Step 4 – Enable Google Authenticator
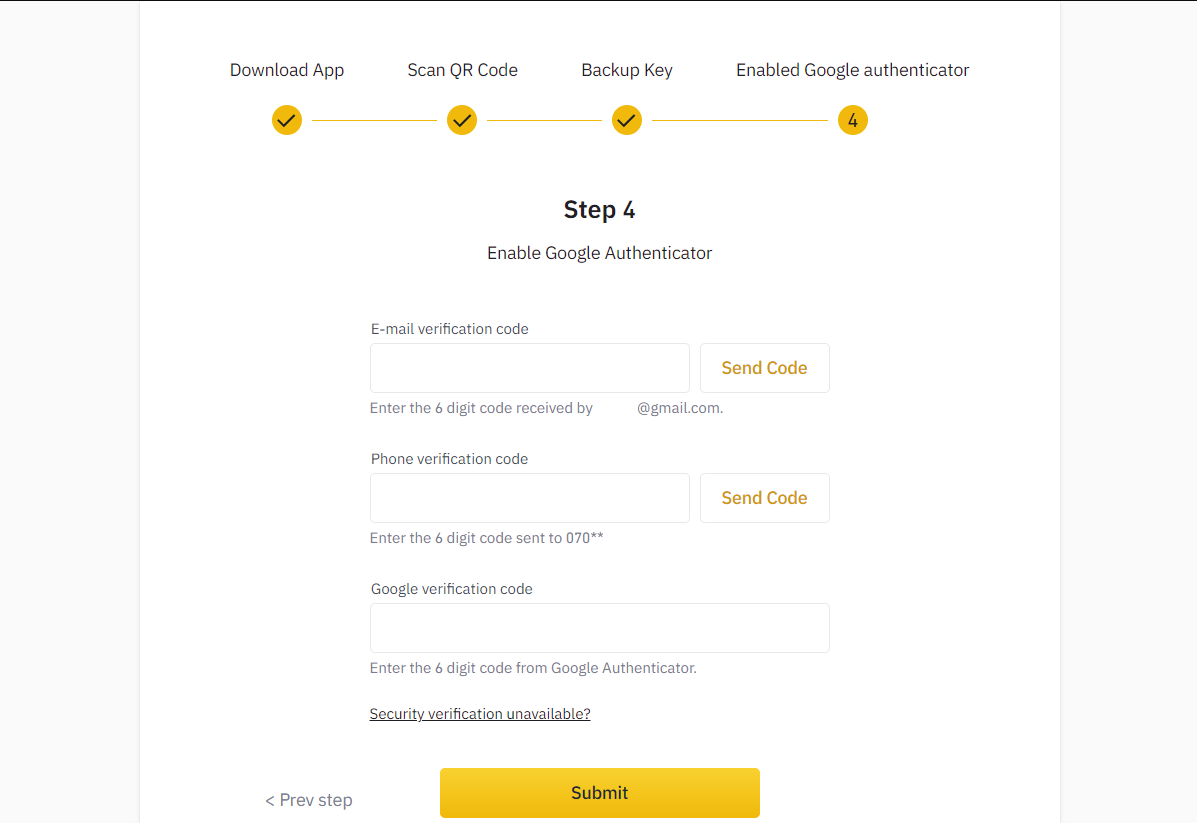
The final step is to enable your Binance Google Authenticator. Depending on the other verification options you have enabled, you will need some details to activate your Binance authenticator. In my case, I needed to enter SMS and email verification codes, and a 6-digit code from my newly set-up Binance Google Authenticator.
Once this is done, hit the submit button and your account will immediately become protected with Google Authenticator.
Check our guide of the most promising crypto