How To Send Ordinals From A Taproot-Enabled Wallet To Emblem Vault


Emblem Vault has seamlessly integrated Taproot native wallet support within its vaults, making sending and receiving Ordinals easy.
With this latest update, you can effortlessly send your Ordinals from Emblem Vault to any Taproot-enabled BTC Wallet like SparrowWallet, and XverseApp wallets.
Sending An Ordinal To Your Emblem Vault
To send an Ordinal to your Emblem Vault, the first step is setting up your Vault if you haven't done so. If you're a first-time user, don't worry – we've got you covered with a simple guide on creating a vault. Let's begin
Step 1
In case you already have an Emblem Vault, skip to Step 13. If not, keep following.
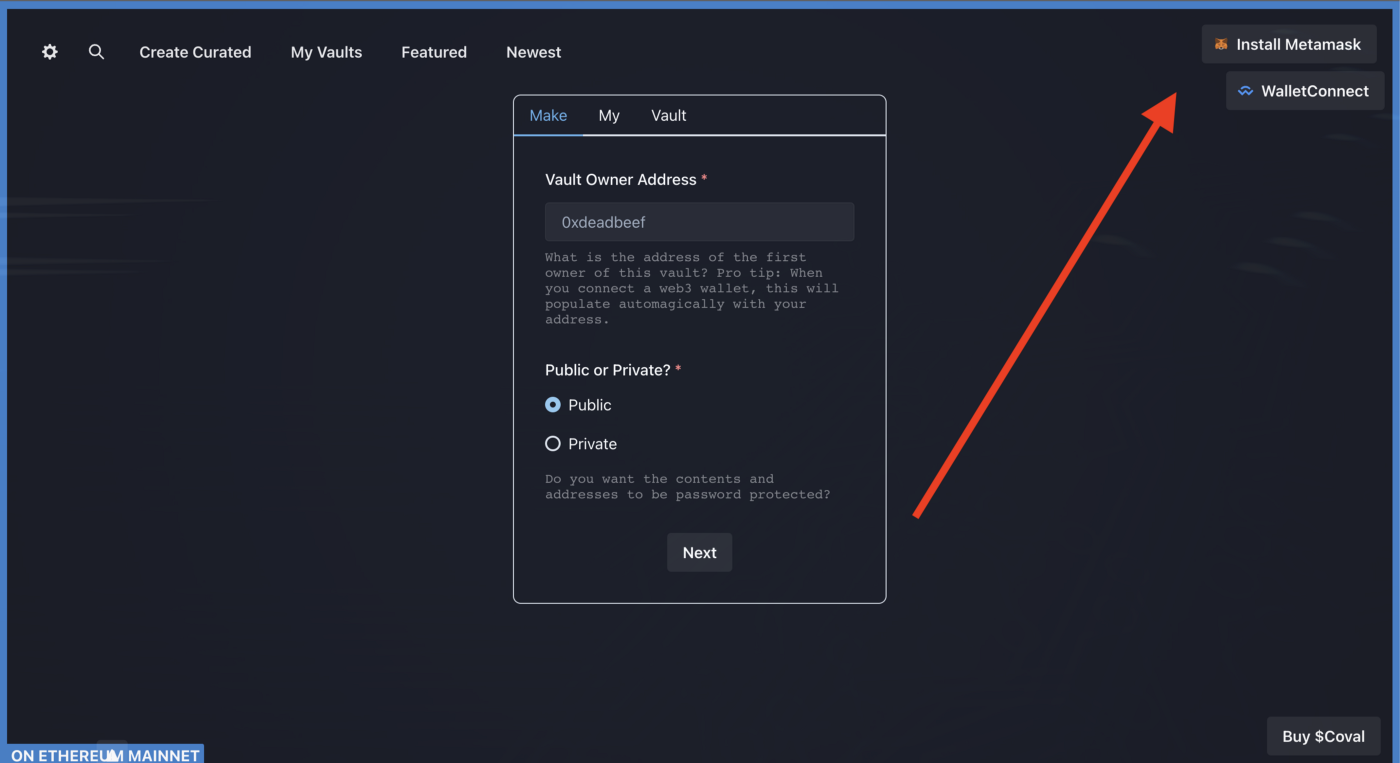
Head to Emblem Vault's official website to create a new Emblem Vault. Click on the "Create" button.

Step 2
Connect your Ethereum wallet
Step 3
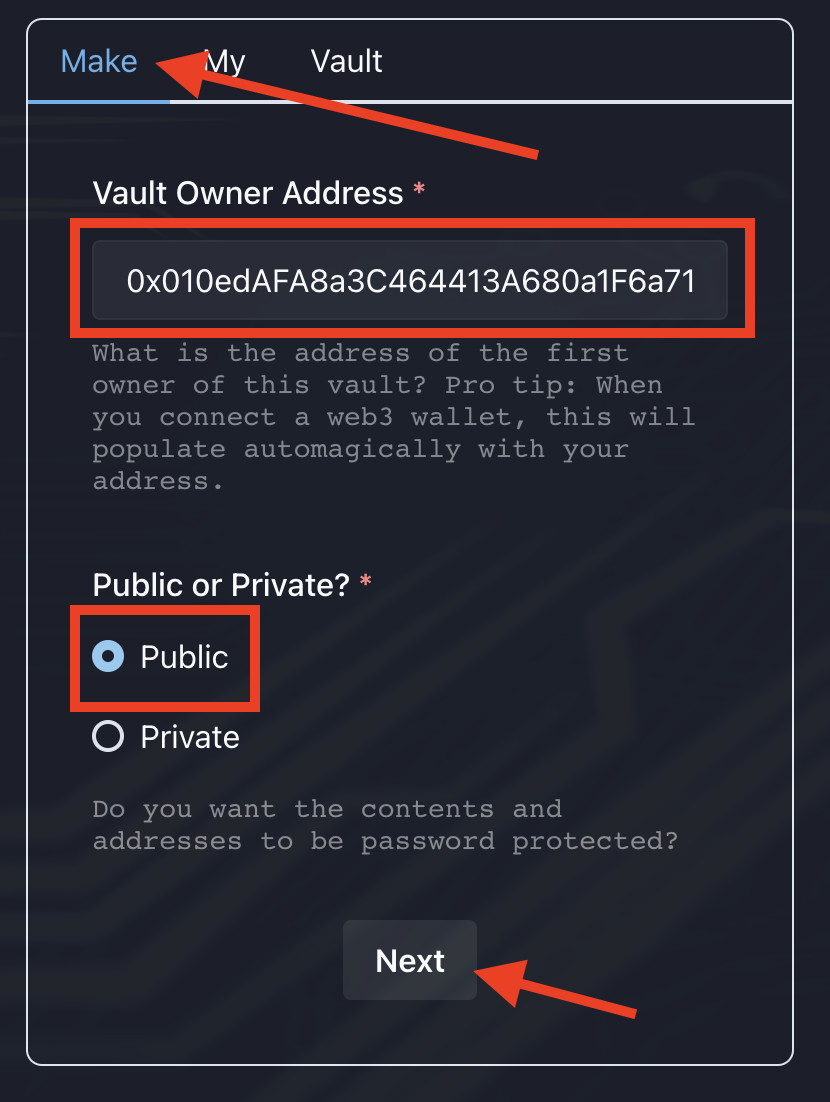
Within the "Make" tab, confirm that you have the right wallet address. Choose "Public" and then tap "Next.
Step 4
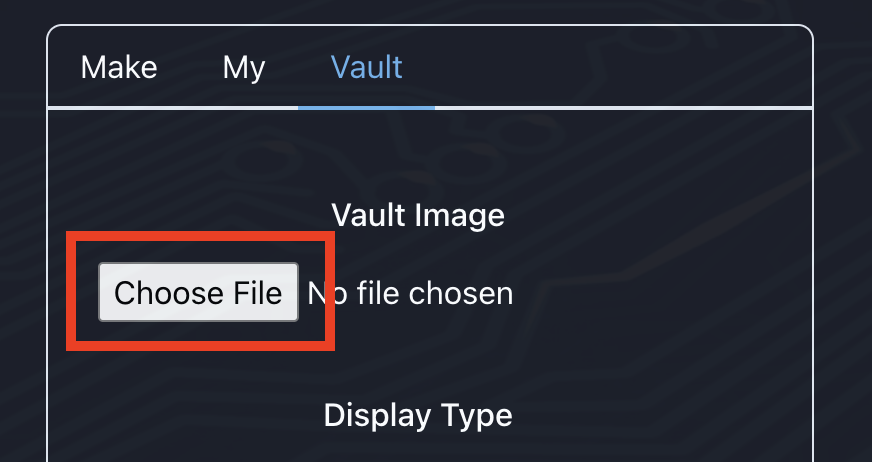
Tap "Choose File" and choose an image that corresponds to your Ordinal.
Step 5
After your image has been generated, and you like what you see - select "Create Vault."
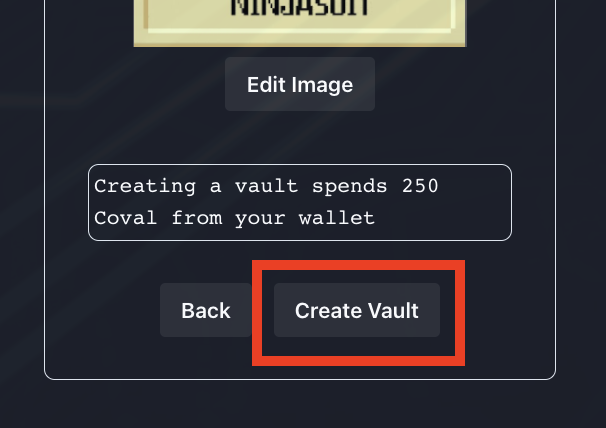
Please note that if you don't like the image generated you can always change it. To do that, select the file name and reupload a new file.
Step 6
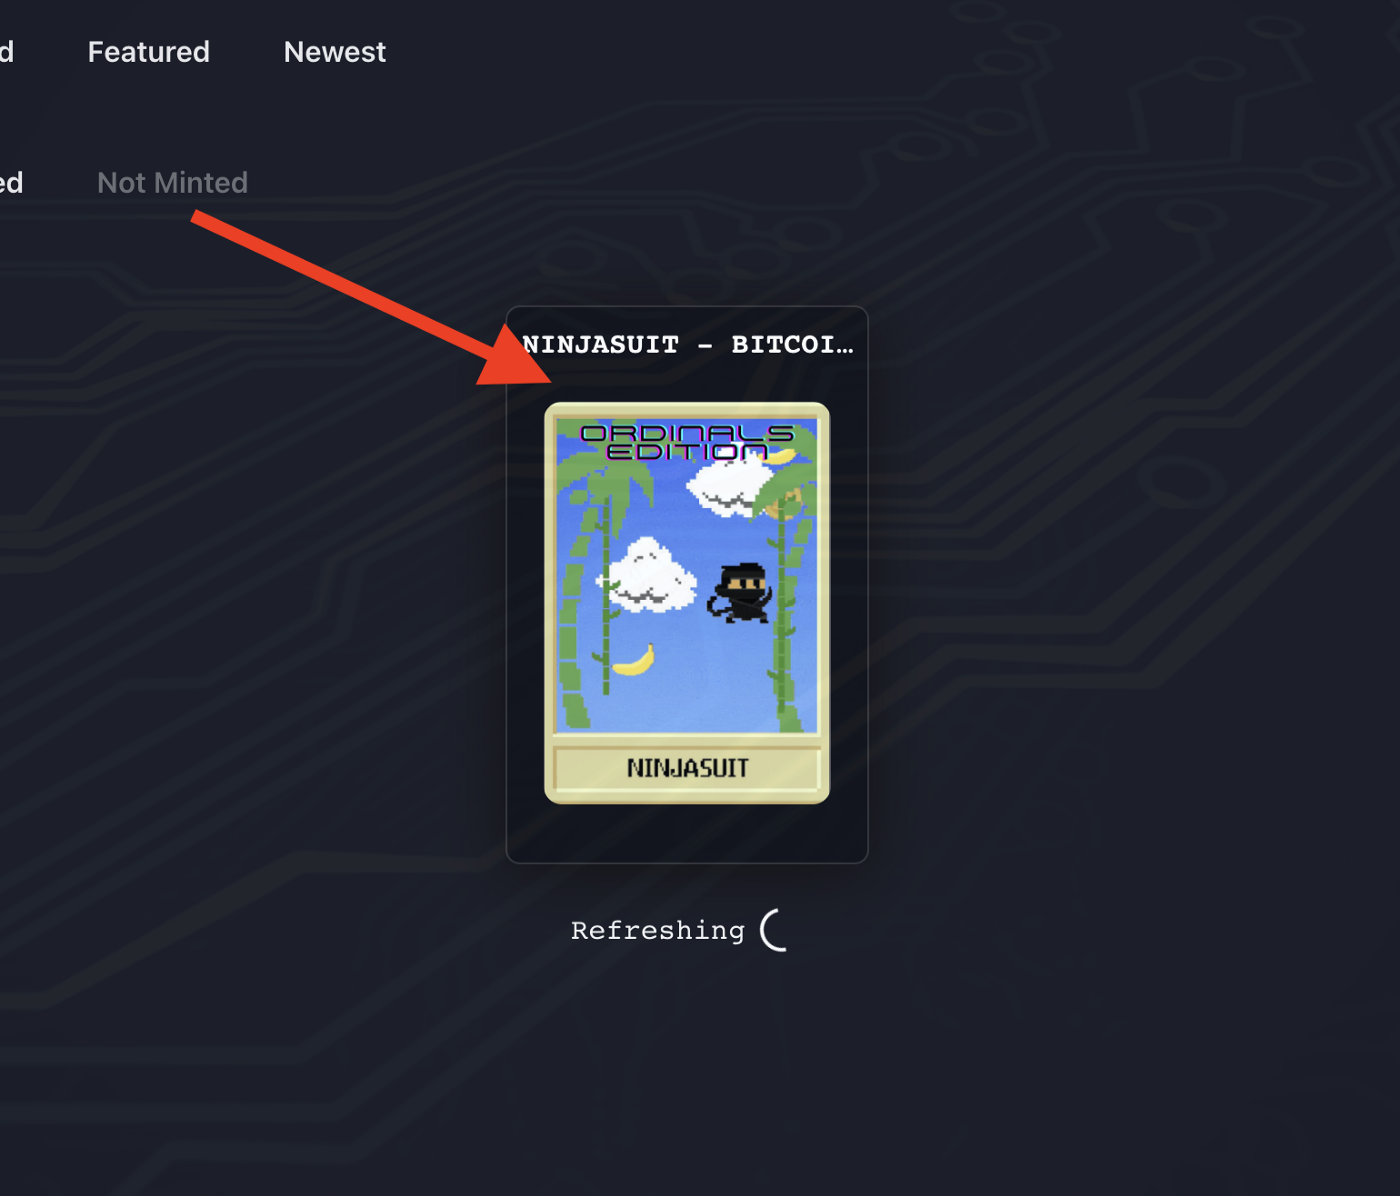
In case the whole process gets mumbled up, refresh the website and select "My Vaults." After that, tap "Not Minted" and refresh again.
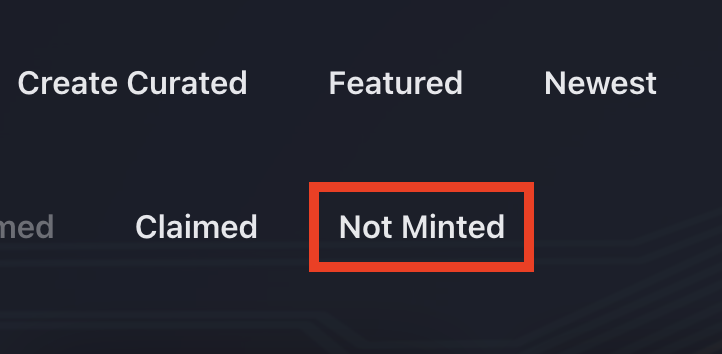
This simple process will display a list of the vaults you are working on.
Step 7
Tap on the vault you were creating.
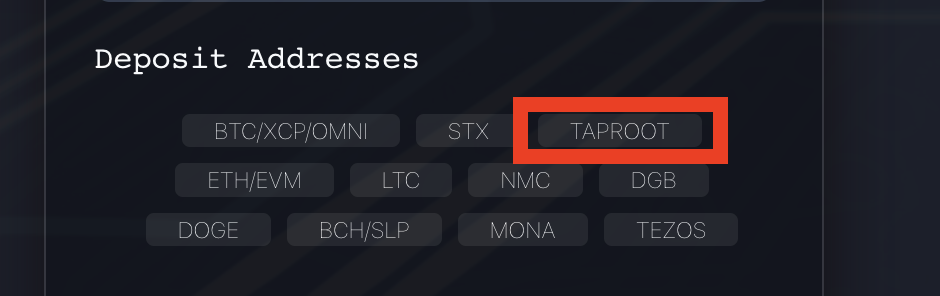
Step 8
Move down and select the "TAPROOT" button.
Step 9
The Bitcoin wallet address within the Emblem Vault should appear. Copy the Bitcoin address.
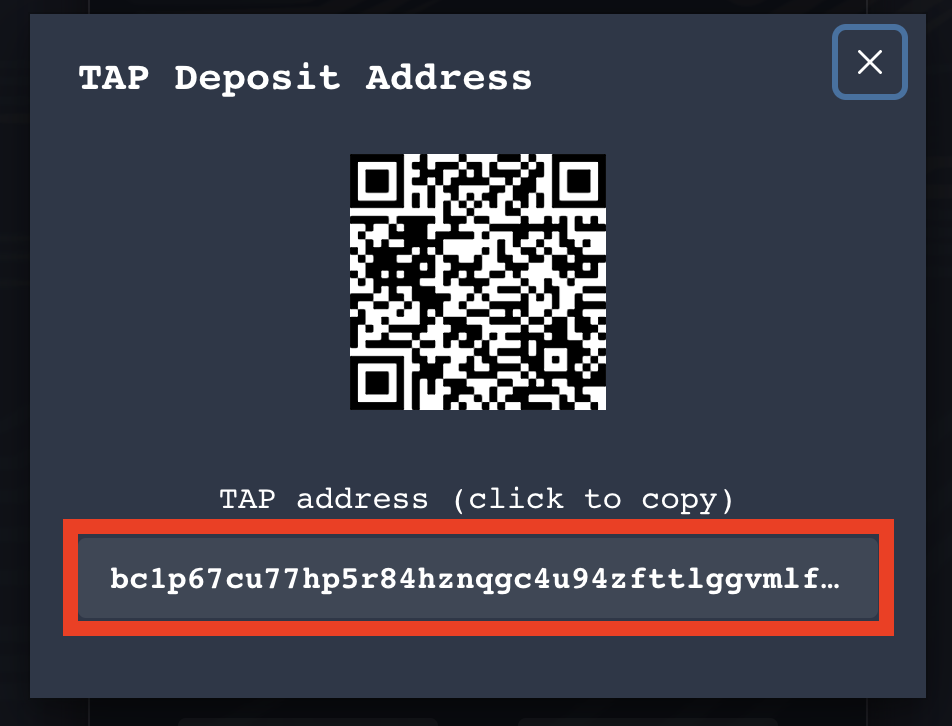
You will be sending your Ordinals to this address later on. But for now, you will need to send a fraction of Bitcoin to the address.
Step 10
Select "Mint Vault." To proceed, you will need to sign 2 transactions in your MetaMask.

Step 11
A message will pop up saying your Vault is being processed and created.
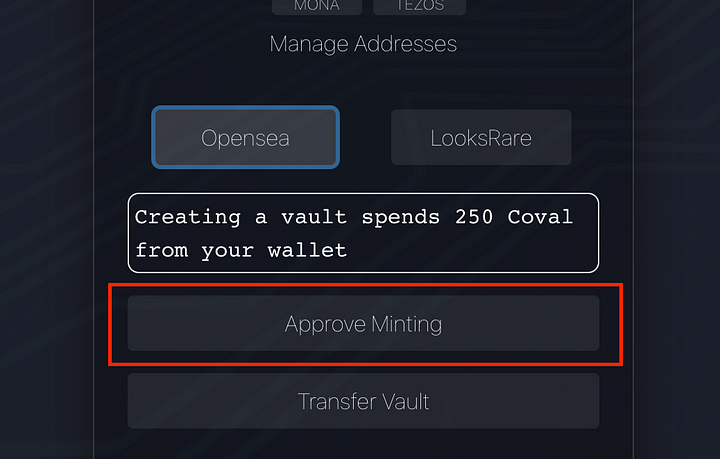
Step 12
Select "Approve Minting." This is a one-time process, so you won't have to do this for subsequent vaults you create. By clicking "Approve Minting," you sanction the transfer of COVAL to mint the vaults.
Step 13
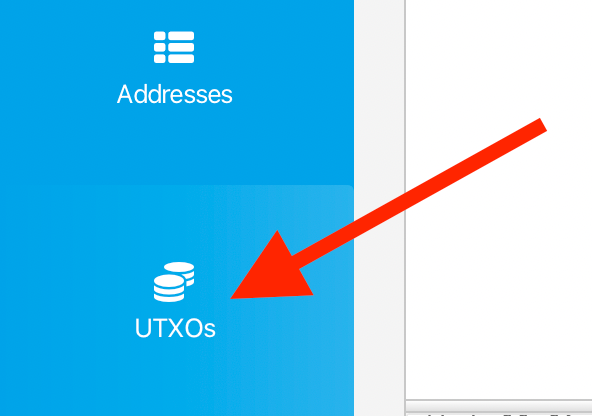
The next step is to transfer the Ordinal from your Sparrow wallet into the vault. Please make sure you have spare BTC in your wallet. If you don't you won't be able to send thr Ordinal.
Go to your Sparrow wallet and select "UTXOs"
Step 14
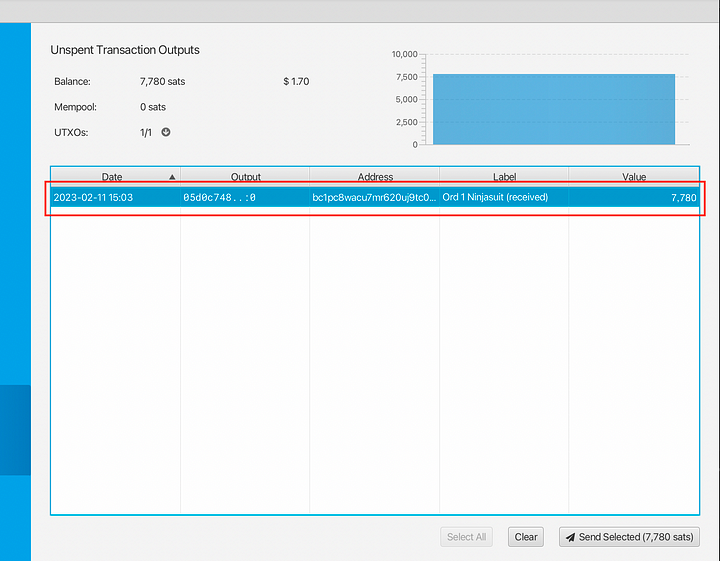
Choose the Ordinal that you want to transfer. Confirm that you've only chosen ONE ordinal.
Step 15
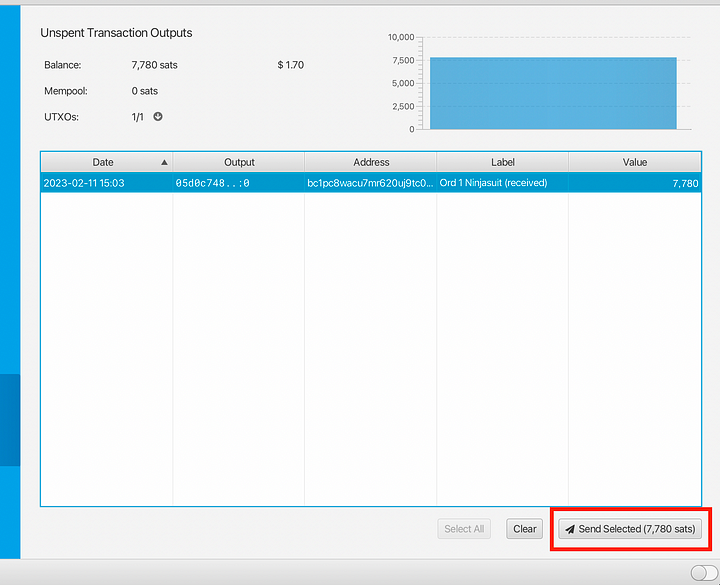
Select "Send Selected"
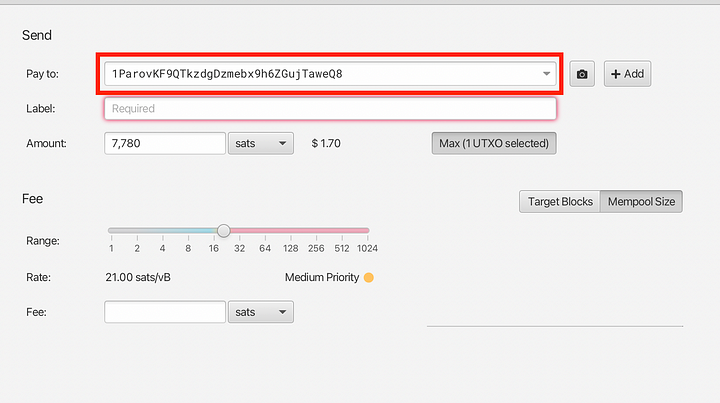
Step 16
Input the wallet address from Step 9 into the "Pay To" box.
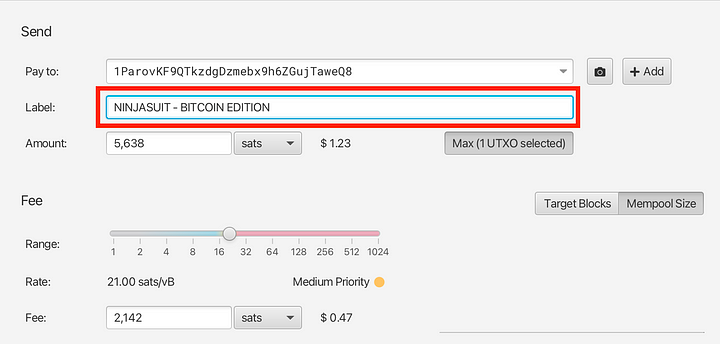
Step 17
Input your Ordinal name in the "Label" box.
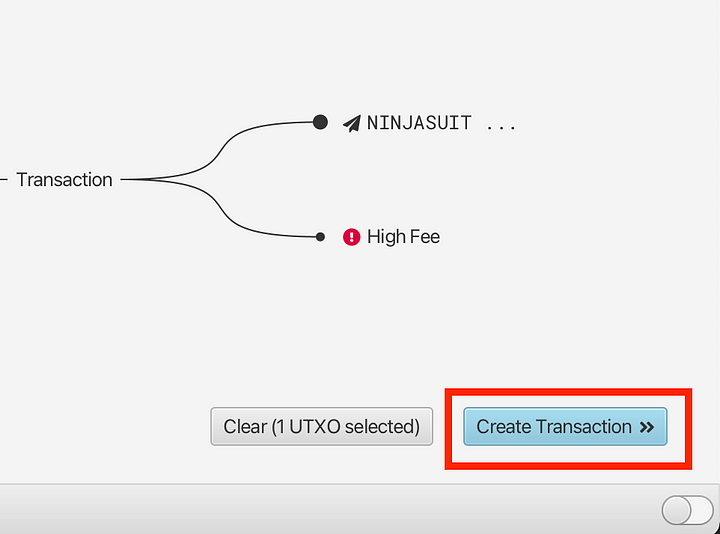
Step 18
Select "Create Transaction"
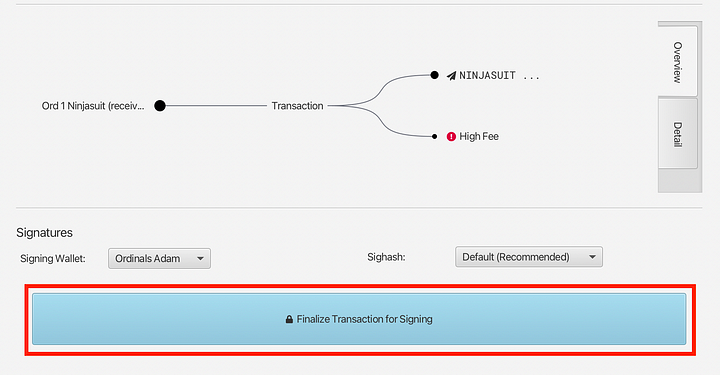
Step 19
Select "Finalize Transaction for Signing"
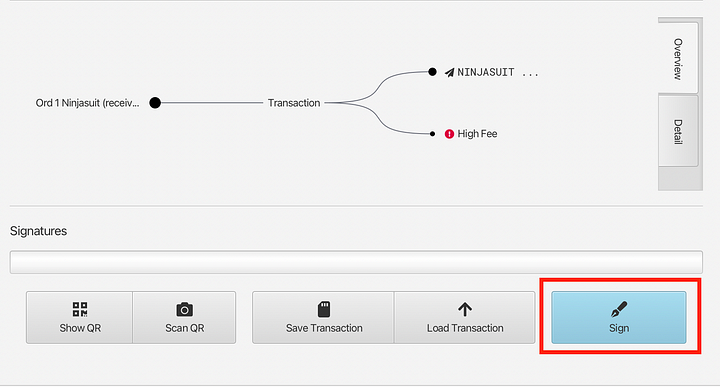
Step 20
Select "Sign"
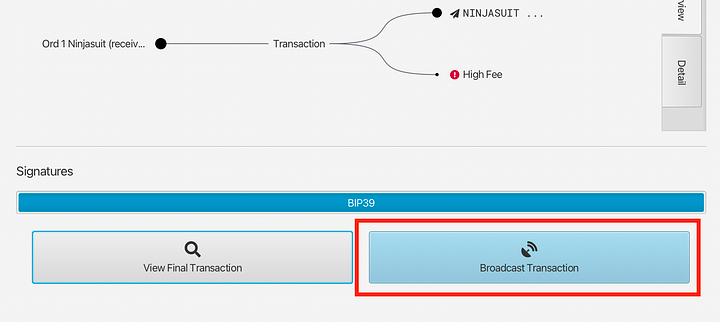
Step 21
Select "Broadcast Transaction"
Step 22
The transaction status will start updating. This should take about 5 - 10 minutes to complete.
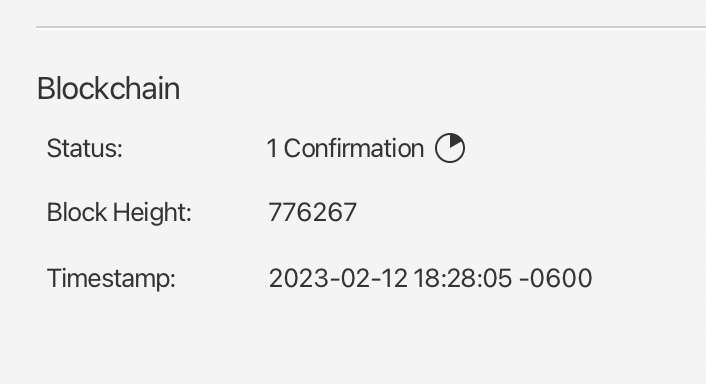
Don't expect any "Success" notification. The transfer is quick and your screen will only display additional blockchain "Confirmations"
After a successful transfer, you can now verify your Emblem Vault.
Check our guide of the most promising crypto